ZSH / Powerlevel10k

前言

自從用過Manjaro KDE後被他的zsh console風格吸引,接著就繼續無性繁殖同樣的設定

ZSH安裝

這個很簡單,基本上依靠系統的package manager安裝就好了

1
2
3
4
5
6
7
8
# Archlinux系
sudo pacman -S zsh

yay -S zsh
# yum系
yum install zsh
# FreeBSD
pkg install zsh

Manjaro-zsh-config @ Archlinux

因為manjaro-zsh-config在AUR內,只要安裝這個package就會自動把相關的都裝上所以問題不大

1
2
3
4
5
6
# Archlinux系
# 這個在AUR內所以
git clone https://aur.archlinux.org/manjaro-zsh-config.git
cd manjaro-zsh-config && makepkg -si
或是更簡單的
yay -S manjaro-zsh-config

記得要把/etc/zsh/zshrc-manjaro/.zshrc複製到~/.zshrc這樣才會生效

其他作業系統

packages for manjaro-zsh-config

  • zsh-completions

  • zsh-autosuggestions

  • zsh-history-substring-search

  • zsh-syntax-highlighting

  • zsh-theme-powerlevel10k

  • ttf-noto-nerd (Noto Nerd Fonts)

zsh-theme-powerlevel10k安裝

1
2
3
4
5
6
7
# Archlinux系
sudo pacman -S zsh-theme-powerlevel10k
or
yay -S zsh-theme-powerlevel10k
# 其他系統 - Manual Installation
sudo git clone --depth=1 https://github.com/romkatv/powerlevel10k.git /usr/share/
# 因為後面要搭配manjaro的設定檔,所以安裝位置固定

gitstatus安裝

1
2
sudo git clone --depth=1 https://github.com/romkatv/gitstatus.git /usr/share/zsh-theme-powerlevel10k/
# 因為後面要搭配manjaro的設定檔,所以安裝位置固定

Manjaro-zsh-config的設定檔

因為沒有可直接安裝的package,所以請用以下的script跑

1
2
3
4
5
6
7
8
9
git clone https://github.com/Chrysostomus/manjaro-zsh-config
sudo cp -Rv manjaro-zsh-config/manjaro-zsh-prompt /usr/share/zsh/
sudo cp -Rv manjaro-zsh-config/zsh-maia-prompt /usr/share/zsh/
sudo cp -Rv manjaro-zsh-config/p10k.zsh /usr/share/zsh/
sudo cp -Rv manjaro-zsh-config/p10k-portable.zsh /usr/share/zsh/
sudo cp -Rv manjaro-zsh-config/command-not-found.zsh /usr/share/zsh/functions/
sudo cp -Rv manjaro-zsh-config/.zshrc /etc/zsh/zshrc-manjaro
sudo cp -r manjaro-zsh-config/base16-shell /usr/share/zsh/scripts/
sudo chmod a+x /usr/share/zsh/scripts/base16-shell/

然後把.zshrc放到~/執行zsh就好了

Windows Terminal Nerd Fonts Dsiplay

安裝Nerd Fonts

但是因為是WSL所以除了裡面的系統要安裝noto-nerd-font以外,外面的Windows也是要安裝nerd font
不然不能正確顯示

Nerd Fonts收集各種Nerd font的網頁
Nerd Fonts

Download內挑自己喜歡的版本下載

我個人喜歡用noto-nerd-font
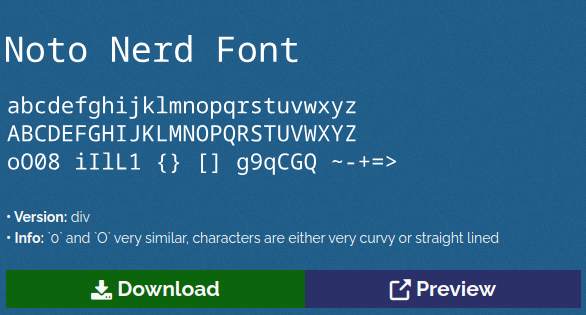
Noto Nerd Font

下載後請記得解開Zip檔後安裝字型

設定Windows Terminal字型

Windows Terminal Setting 1

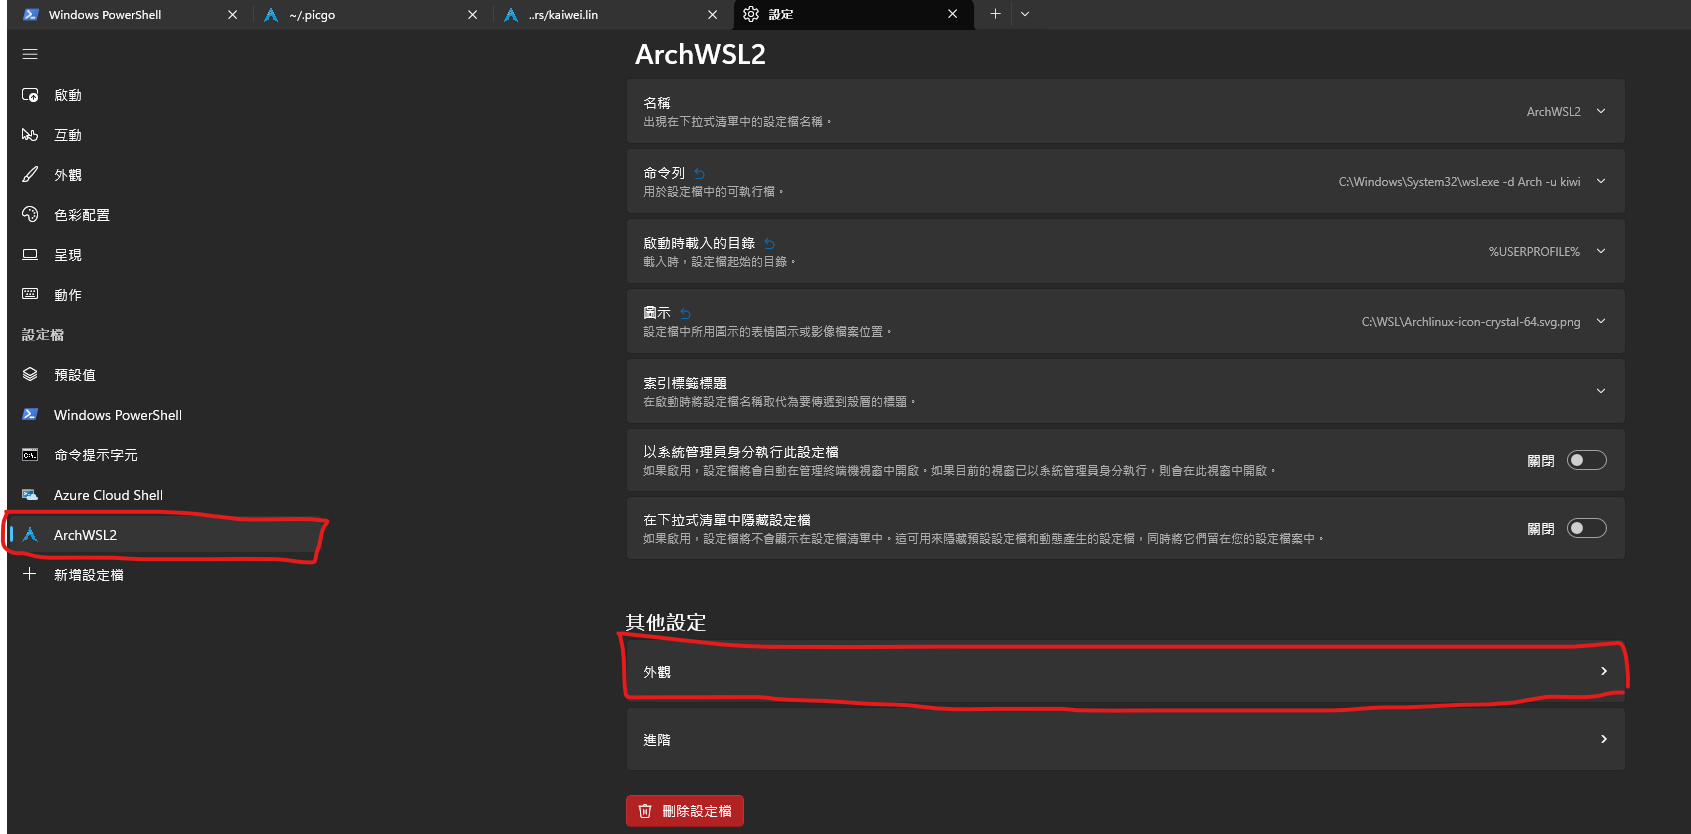
在設定內選擇你的ArchWSL選項然後選擇外觀

Windows Terminal Setting 2

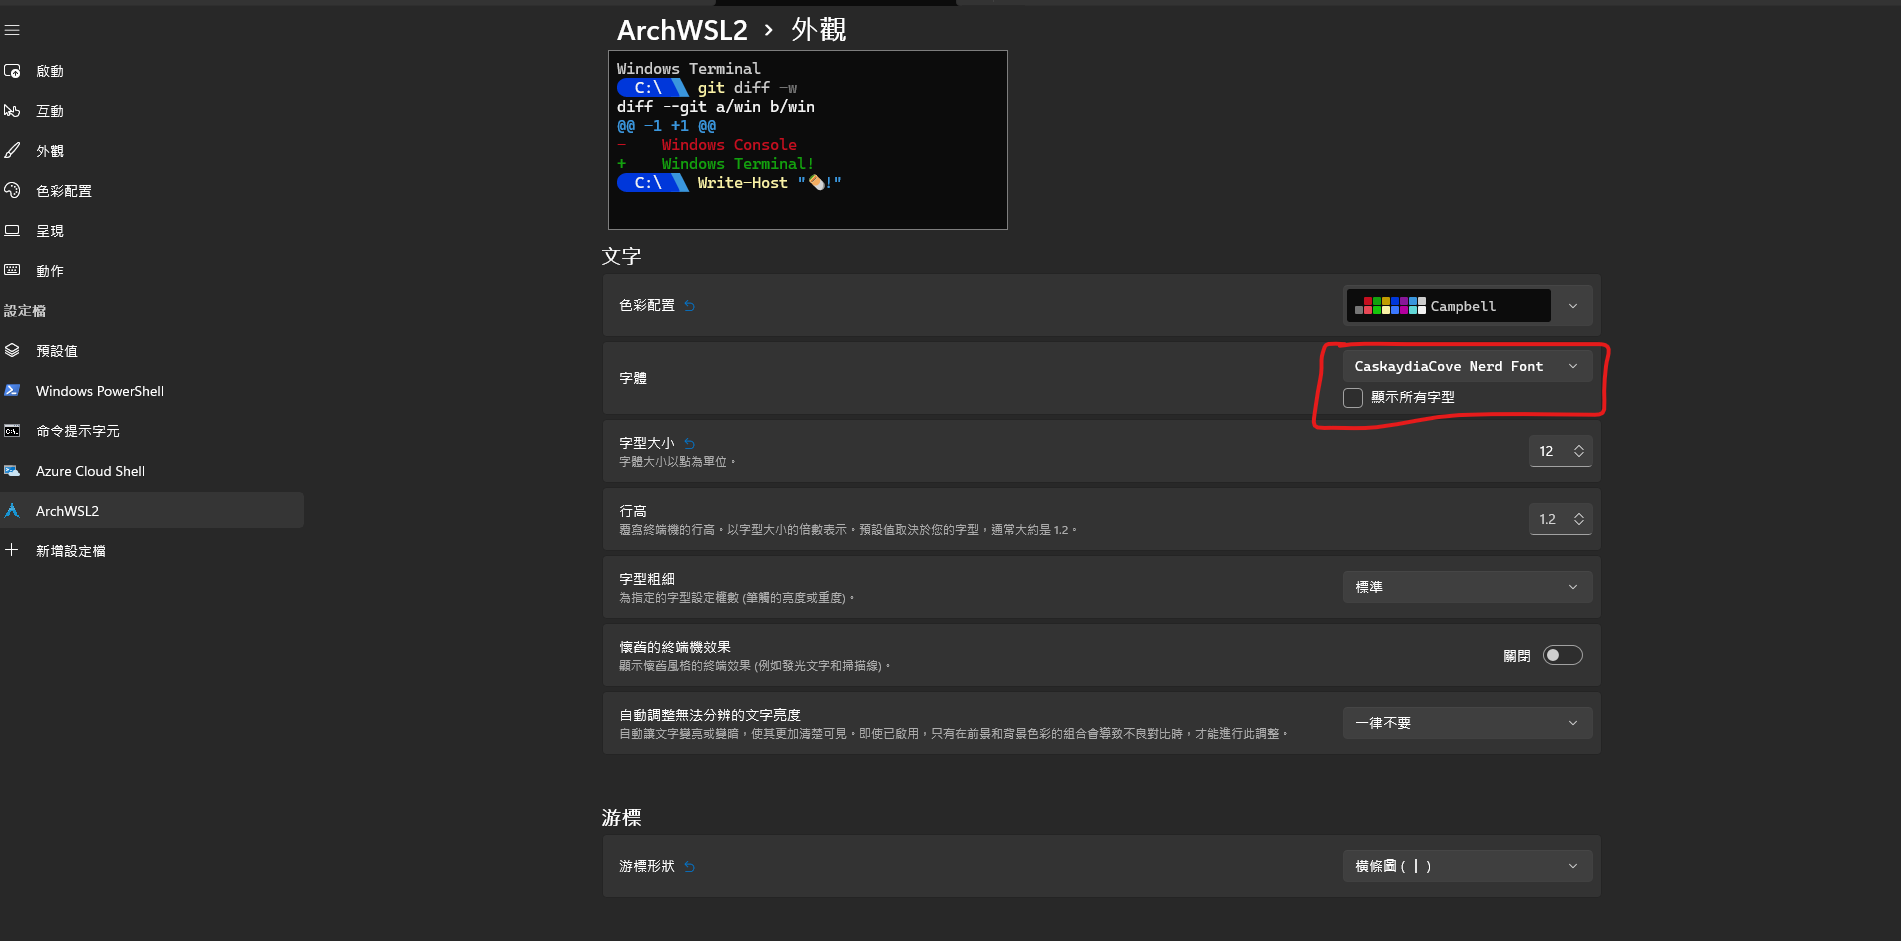
將字型改成你下載的Nerd Font然後記得保存你的變更後就好了